Thursday, January 6, 2011

One More Bite of the Elephant: Done Sizing Pieces!

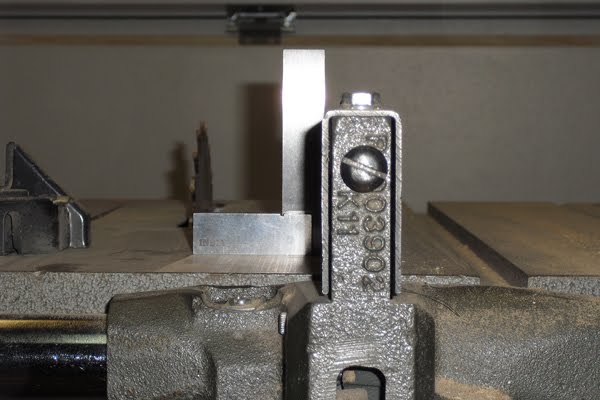
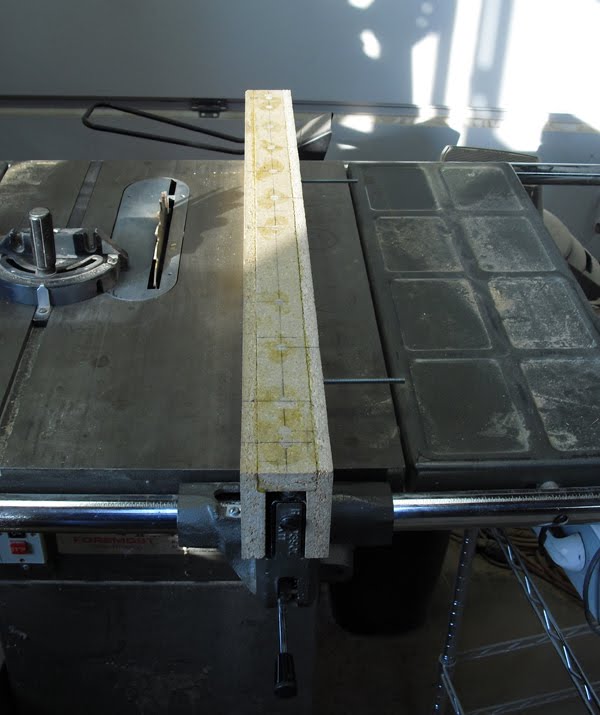
I only had one last piece that needed to be sized before I could move on, a leg. It needed about 1/2" removed and while I could do it with a planer, I didn't need that much Zen today ;) I used the spiffy new rip fence on the table saw. It worked very well, and I feel the time I took to make it was well spent and will certainly make things easier and more accurate in the future!

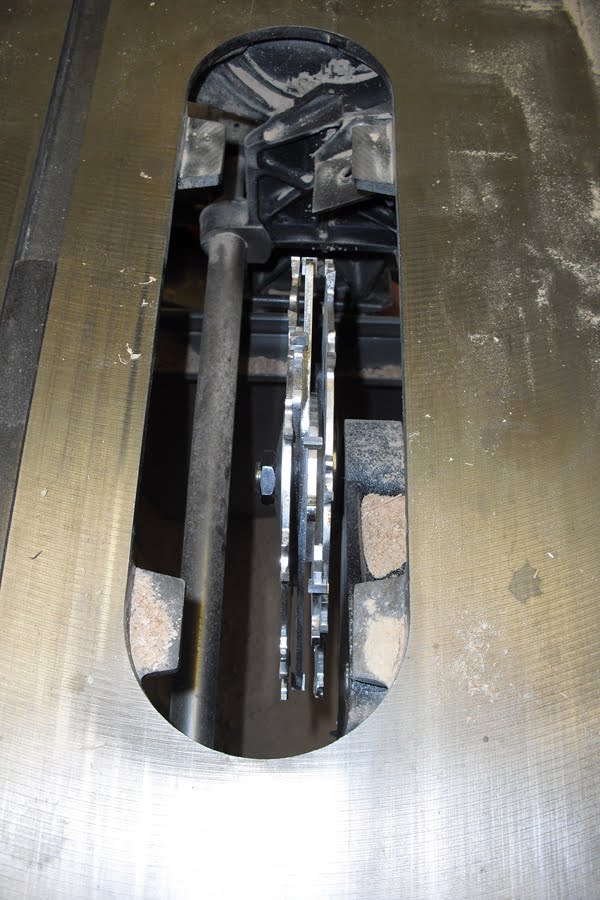
Here's the face I cut. The brownish marks you see are burn marks from the blade. The blade I'm using is old and in need of a good cleaning and sharpening. I really need to get that done.

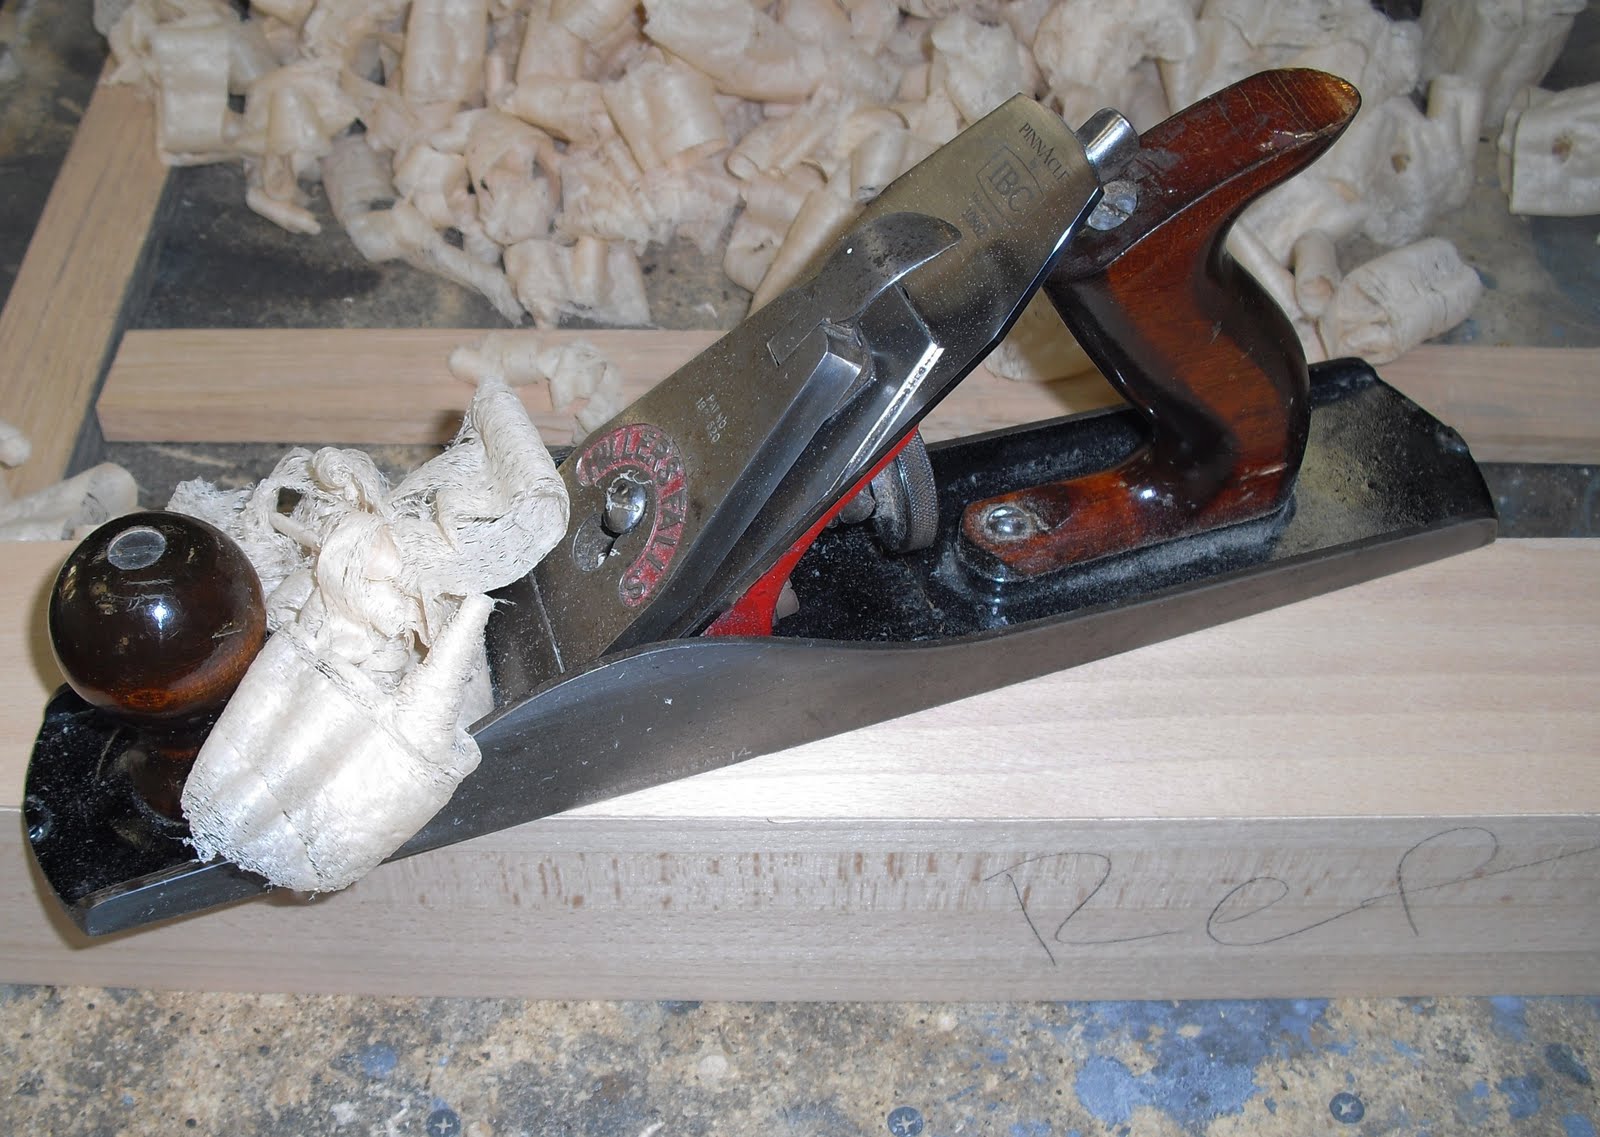
My attempt at an artistic photo ;)


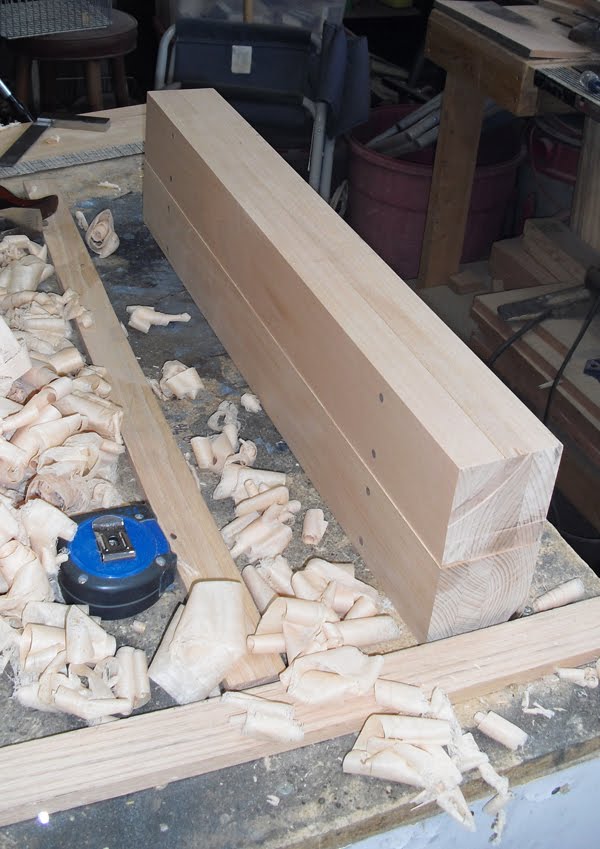
Here's the last leg done, with another one just to be sure they are close. They aren't exactly the same size, but they are close enough that I'm not concerned.

All the base pieces sized and together!

I wanted to get a drill bit to remove as much of the wood from the mortise joints as I could. Since I was going to Woodcraft anyhow, I decided to pick up a marking knife. The biggest advantage a marking knife has over using a pencil or marker, is one edge is flat, so it will mark right up next to the ruler.

I'm making 1" mortise and tenon joints. I intentionally bought a bit that was a little smaller than the mortise size I'm making. This way I can carefully size the mortise hole. I don't really know what advantage a Forstner bit has over a standard spiral one, but if I need to make a large diameter hole I prefer to use these.

I used a board and some clamps to make a temporary jig on the drill press. This allowed me to be sure I was drilling the same line on the board lengthwise without having to actually draw it out. This came in really handy a bit later.

Here I am drilling the holes for the mortise. Since I am my own photographer, I don't have the tools running when I take pictures, not as exciting to see maybe but a whole lot safer ;) If you'll notice, the leg is butted up against the jig.
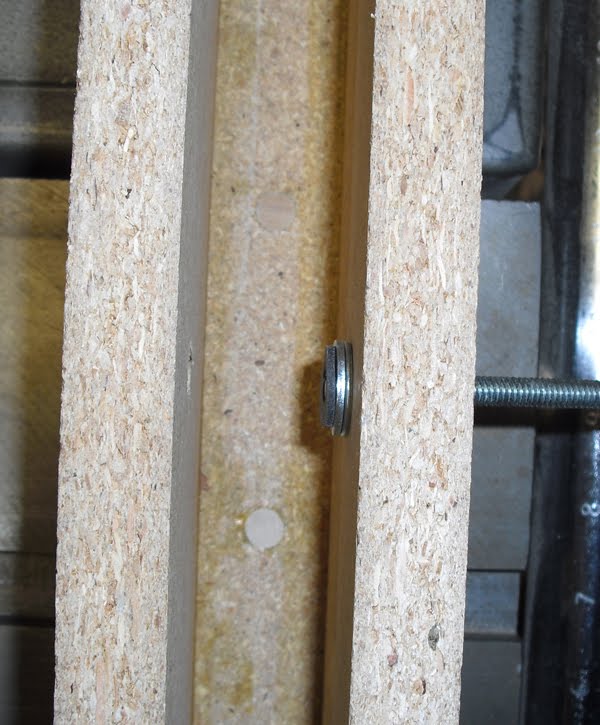
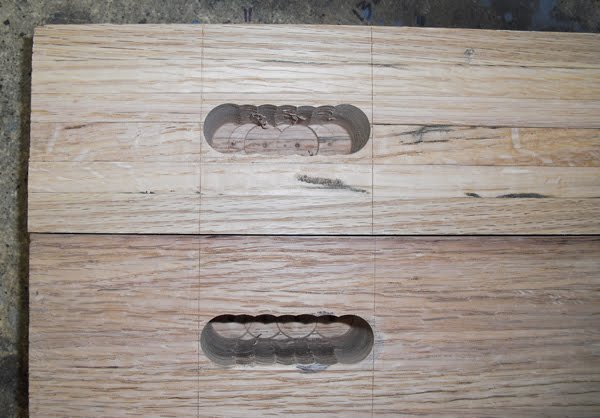
Unfortunately the drill bit was not long enough to drill all the way through the leg, as you can see. This is where that jig came in really handy. I flipped the leg over, scribed the lines of where I wanted the holes to start and end and began drilling.

Aside from a fuzzy picture, the roughed out mortise looks fantastic! One of the advantages of drilling from both sizes is you won't end up with tear out (where the wood grain lifts up instead of cutting, it doesn't look nice :( )
From here I'll use chisels to square the mortise up and get it to the exact size I want. It's common practice to make the mortise side of the joint first and then fit the tenon to it.

Tuesday, January 4, 2011

Fixing the Table Saw Rip Fence

I decided to stop putting off fixing the rip fence on the table saw. The rip fence is not 90 degrees to the table saw table, which causes boards to be cut at the wrong size.

Here's my spiffy machinists squares. They are made specifically for checking if something is square. I was super excited when I got them, they normally cost $60 but I got it on sale for $30! I love good deals on stuff I actually need!

Unfortunately you can't actually see it, but there's a gap between the machinist square and the rip fence. I decided to make it out of particle board (it's a board that looks like someone swept up a bunch of saw dust, mixed it with glue, and made a board out of it.... which is pretty much what they did ;) ) I also wanted to edge it with some hard wood to make it look nice and help it last longer.

Here's a thin piece of Oak I had left over from a previous project. Seems like the perfect piece to use for edging.

This gives you an idea of how thin it is, which is about quarter of an inch.

To be able to rip it accurately on the table saw, I need at least one straight edge. Since neither of the sides were perfectly straight I was going to need to straighten them using my hand jointer. The problem is, when I tried to control the jointer AND hold the board on one edge, it didn't want to cooperate and fell over all the time. I needed to figure out a way to keep it on it's edge. After thinking for a few minutes I decided to use a C-clamp to temporarily increase the width of the base, like so.

Once the edge was straight I ripped the piece into three pieces, two that were slightly more than 3/4" wide, and a waste piece that was narrower. Here's the two use able pieces.

Here's the piece of particle board I'm going to use. If you look closely you can see the mottled look caused by the chips that make it up. The design I'm using is my own version of a commercially available rip fence. I'm pretty sure the commercial ones are either particle board or plywood because they are very stable (they don't expand and contract like natural woods do). Most of the commercially available rip fences also use a Formica or some sort of plastic laminate to help reduce friction when pushing a board against the fence. I didn't have any of this type of wood in the garage and didn't want to buy any, so I'm making do with this. I can always add some sort of laminate at a later date if I choose to.

I had to cut the board down to about the size I needed. I used a Sawzall to do it. With a new blade on this saw cut through the particle board like a hot knife through butter. This isn't really the ideal saw to use for this sort of thing, but as I didn't have any other option, it worked out nicely I think.
After crosscutting the board with the Sawzall, I used the table saw to rip the boards to the widths I needed.
I then used a stacked Dado blade to cut a 3/4" wide by 1/4" deep groove in the top edge of the two side boards. This groove will help to stabilize the contraption when I'm putting it together. The above picture shows the stacked dado blade.

I've learned through a lot of messing up that it's always a good idea to make trial cuts on scrap wood before you cut the piece you are going to use. Above is the scrap piece. The first cut I made was a bit too deep (the groove on the top). Adjusted the blade depth a touch, and second test cut was the exact 1/4" I wanted. Awesome!

I set it so it would groove the edge of the boards I was using. I didn't have any scrap boards that were the 3 3/4" width like the pieces I would be cutting, but that wasn't a big deal. I just used this scrap piece and measured from the right side to the beginning of the groove. It was exactly 3".
Hmmm it would be a lot easier for you to understand what I was talking about if I'd been smart enough to take pictures of the pieces.... but since I wasn't I'll have to ask you to be patient.
Here's my spiffy new Dewalt Drill, a Christmas Present from my mother!!!!

Here's the top part of the device I'm making. I used the drill to make 3/8" diameter holes, about 13 in all.

I glued some hardwood dowel pegs into the holes. I'll explain why later.

As you can see, the pegs aren't flush with the top.

I'd learned from the bench legs that using a chisel to remove the excess pegs wasn't the best idea. I used this flush cut saw instead :) It cut the pegs really close to flush with the board, then I used a sharp chisel to remove what little remained above the board. That actually seems to be the best method thus far.

It's winter here, and with the temp at only 30 F it's friggen cold in the garage, so here I am trying to warm my hands up a bit with some space heaters. I use these to try and make the garage bearable, it works sorta.

The really old thermometer in the garage.

I assembled the pieces together and used some clamps to temporarily hold it together so I could dry fit it and see if any adjustments needed to be made. Thus far I'm really pleased with how it's going together.

Here's one of the sides with glue on it. This is one of the grooves that I used the dado blade to make.

After gluing up both sides I used the clamps to hold it together while I put screws into it. The dowels I put in the top were so the screws would have something to grab into when inserted from the sides. Particle board doesn't hold screws very well by itself, and if I was going to go through all the effort of making this I wanted it to stay together. I got the idea from a book on making beds. It never ceases to amaze me how one bit of knowledge from one thing is use able elsewhere :)

Once the glue had dried it was time to bolt it to the rip fence. Since the fence was slanted, I needed some way to attach the device to the fence securely, but not have it adopt the slant of the fence. I decided to use steel washers to act as spacers and a rubber washer to allow for the slant. I had initially tried to have it where the two steel washers were next to the wood and the rubber washer would be next to the rip fence. That didn't work, the fence wouldn't slide past the rubber washer... bugger.

So then I tried it with only one steel washer and the rubber one. This worked out and I assembled it only to find I had put it on backwards.... DOH!!!

Since I had to reassemble it I decided to try two steel washers and the rubber washer again, but this time with the rubber one sandwiched between the two steel ones. I was hoping that by doing it this way the steel rip fence would slide easily past the steel washer, and fortunately it did.

Here it is all assembled. I was really set on the 3 washer set up as it removed most of the space between the rip fence and the device (I really need to come up with a better term for it than "device"...).

Here it is all assembled. The bolts are way too long as you can see, but I'll just trim them with a Dremel and cut off wheel. When I checked the new and improved rip fence was still off from square. The bottom was too far out. I tightened the bolts a bit more and checked, better but not quite, so more tightening, check, repeated till it was really close to perfect. It's not perfect, but it's so close that I'm hoping I won't notice.
In between gluing and other things, I also sized the last top spanner and began work on one of the remaining legs. Now that I have the rip fence squared up I can just use the table saw to get things close to dimension and then use the planers to get it exact. This will speed things up and reduce wear and tear on the planer blades and my wrists :D